 " >
" >
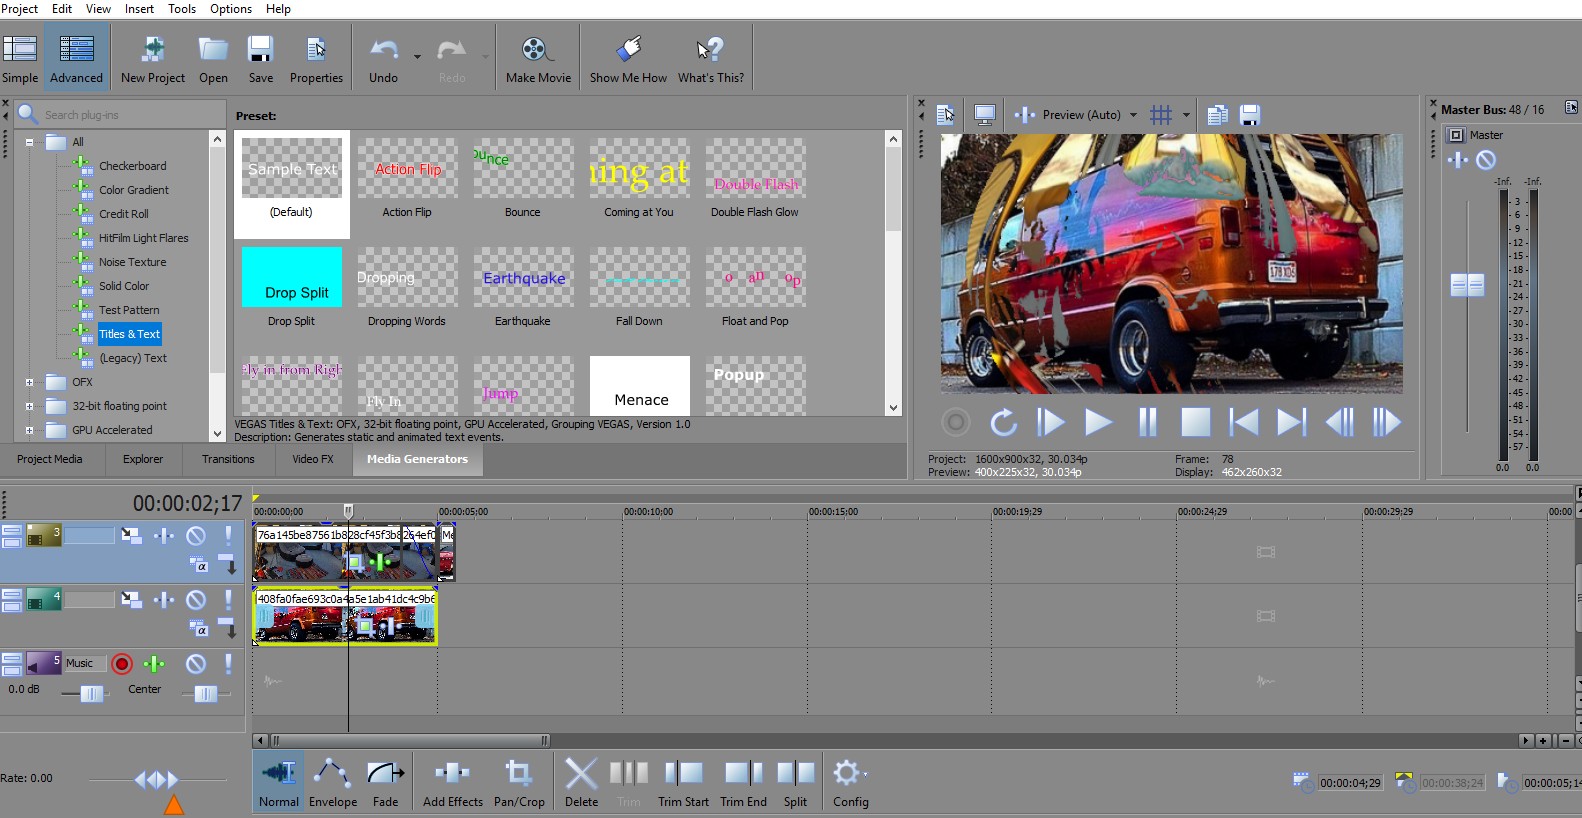
Who likes actually knowing how to do things when you use a video editing program like Movie Studio Platinum? Well, if you’re one of those who do like knowing, this is a short guide to do the most basic things with your editing.
SHORTCUTS / HOTKEYS:
d – cursor changes to envelope / selection edit / etc
ctrl and drag clip with mouse – COPY
TOOLS:
- Auto-ripple (the gear “Config”) lets you drop media in and it automatically spaces around it
- Opacity – its a little colored tab on the top of the media clip
- Volume envelope – right click in empty space of track and insert it, and double-click the line to change it
- YouTube video? MainConcept AVC/AAC – Internet HD 1080p
- Speed – ctrl + drag the edge of a clip.
SEE the % increase – View > Active Take Information - Group a bunch of clips/pictures – go to envelope and highlight all, then right click > group > new group
SPEED up / SLOW down all clips now with ctrl-drag edge - EVEN FASTER? 2-step process. You have to render it out and then bring then new render back into same project
Tools > Render to new track, then save to whatever you’re comfortable with (Sony AVC/MVC has mp4 [?], and select the - Template that’s the same as current project (you can see the pixels and frame rate right under the preview), Customize the bitrate (DVD is 8mbps (8,000,000) if you go below this you’ll start getting compression).
- FLIP – click the event pan button on the clip, then rightclick the picture and “Flip”
- TURN OFF MAKING A KEYFRAME EACH TIME – that little I(lock picture) button in Event Pan
- INVERT – right click clip > Properties > Media > Rotation
- BLUR out face – duplicate video track. Mute bottom track so you can see better. Apply Cookie Cutter to top track. Add pixelate also. TO FOLLOW
- FACE – Right click top track > Video Event FX > Animate it (I think this is already active, but it ooks like a timeline down below. Turn ON the lock to sync.
- PICTURE length default – Options > Preferences > Editing > New still image length
- TIMELAPSE – Project > Import media > click first photo, tick “Open sequence”, select last image. “Open.” Select your true framerate. “Ok.” It makes a little video of the clips, which you can drag in.
- FISH EYE – Event FX > Deform > adjust settings